Creating Identities
11 January 2013Categories: Roundcube
Your mailbox may come equipped with other emails other than the one you sign into Roundcube with. If this is the case, you will be able to send emails from those email addresses also by setting up identities. First, however, we’ll look at changing the settings on your primary email address.
Once you have logged into Roundcube, access the settings by clicking the link on the right hand side of the page.
![]()
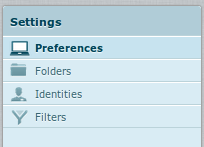
You will be presented with various options in a panel to the right.

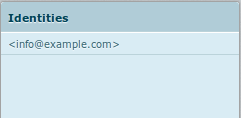
Click the Identities link which will then show you a list of available email addresses that you can use. Initially, this should just be your primary email address (i.e. the the email you sign intoRoundcube with).

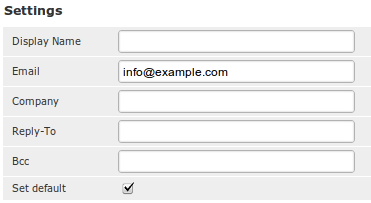
By highlighting your primary address, you can amend the details of your current email address such as the displayed name and the signature.

| Display Name | This is the name that will be sent along with your message. Your email wil be tagged as being “From” this field. |
| The email. In general, this should not be amended. | |
| Company | The company who you are working for. |
| Reply-To | If you wish to send emails using this address but woudl like the user to replay to the email using a different address, then populate this field. |
| Bcc | Any messages sent from this identity will automatically have blind copies sent to this email address. |
| Default | When composing a message in Roundcube, this address will be set as the default one to use. |
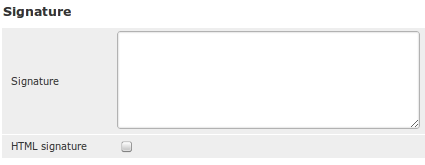
Underneath the settings is a place to enter in a signature for this identity.

If you wish to us HTML in your signature, the check the HTML Signature field.
Adding an identity is identical. In order to add the identity, just click the plus icon at the bottom of the Identities Column.

This will present you with the same form as you have seen above.
